Trailing a wounded deer (or hog), that is. I can definitely recall quite a few hunts where I just knew that I was not going to be able to find my animal, only to follow a few simple steps and wind up just feet away from that tell-tale white belly or that giant {motionless} black mound atop crunchy brown leaves. Of course we’d all prefer the “drop it where it stands” kind of success, but that can’t always be the case!
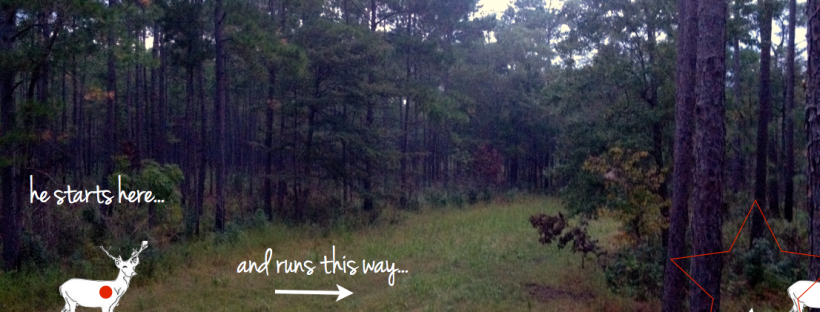
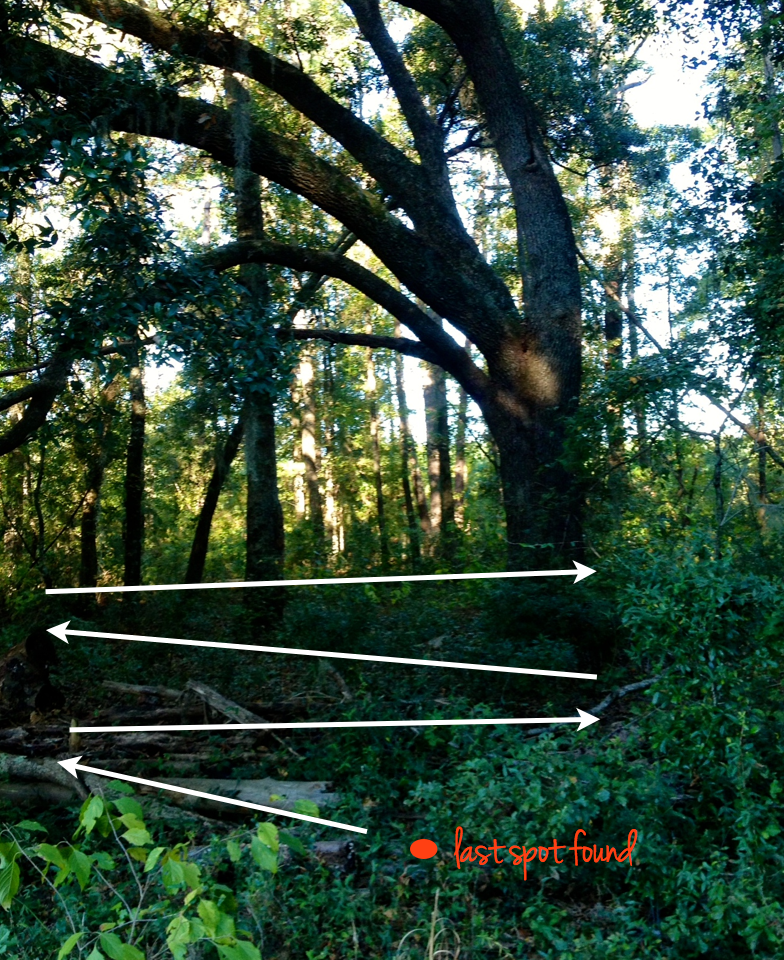
Whether you’re hunting deep in the woods or over a food plot, you’ll doubtless encounter areas of woods just as thick as the photo above, if not thicker. While, as hunters, we owe it to our game to take ethical shots (read: drop them where they stand), we further owe it to them to put forth our best effort to find them if they are indeed wounded after a shot and try to make a run for it. If a wounded deer makes it into thick brush, they become much harder to find. Sometimes, we just can’t find them. The surge of adrenaline that courses through a deer or hog that has just been shot can provide for the craziest of chases. I have heard stories of hunters finding their deer a half mile away, and others of the deer swimming across a river to escape. That being said:
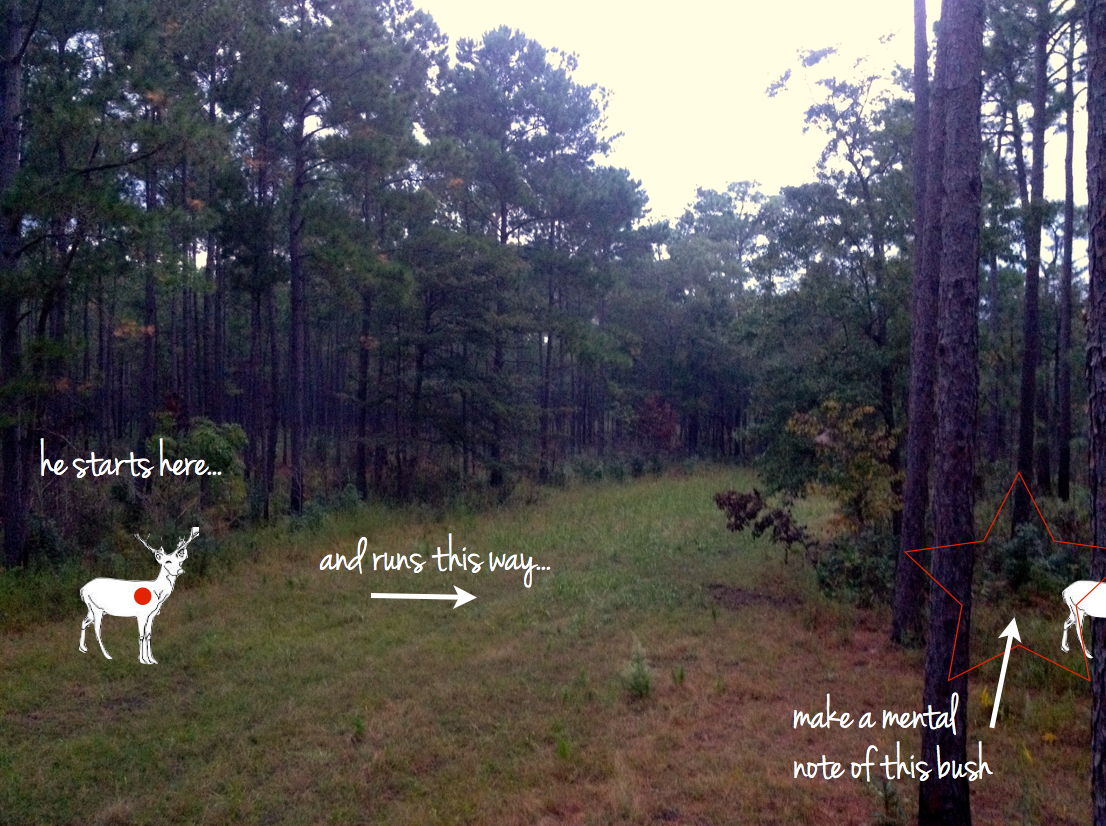
1. Mark where the deer is before you pull the trigger (or release your arrow). If you make a mental note of a certain tree or bush, you’ll be able to easily find right where the deer was standing when you shot, and proceed from there.
2. Pay attention to the direction it goes after the shot. Deer typically prefer the path of least resistance towards thick brush to make their escape, but it can be difficult to determine the direction if you don’t see them take off. Hunting an open food plot? The direction will be more obvious, as you have more time to watch the deer before it hits the woods. Again, make note of a bush, tree, etc. where it made its escape.
But wait! How do you know you actually made the shot? Sometimes it’s not so easy to tell… As one article mentions, “deer do have a tendency to “hump up” in the middle and leave the area more slowly if they’re gut shot. Other hits aren’t as easy to diagnose, however. Some deer will race off with no indication of being hit even though they’ve been ‘double lunged’.” I couldn’t agree more. That 7 pt I shot a few weekends back? Given the way he reacted after I shot (i.e. took off running), I was sure I had missed him. I even sent John a text that I might have just whiffed a buck. I hung my head in shame. Just kidding, but you know that feeling I am talking about.
3. I know you’re excited, but wait. You need to give it some time before you bolt out of the stand and begin your search. The deer could be just out of view, hear you start rummaging through the woods, and take off again in who knows what direction. If you made a decent shot, it won’t {usually} go too far if you just give it time.
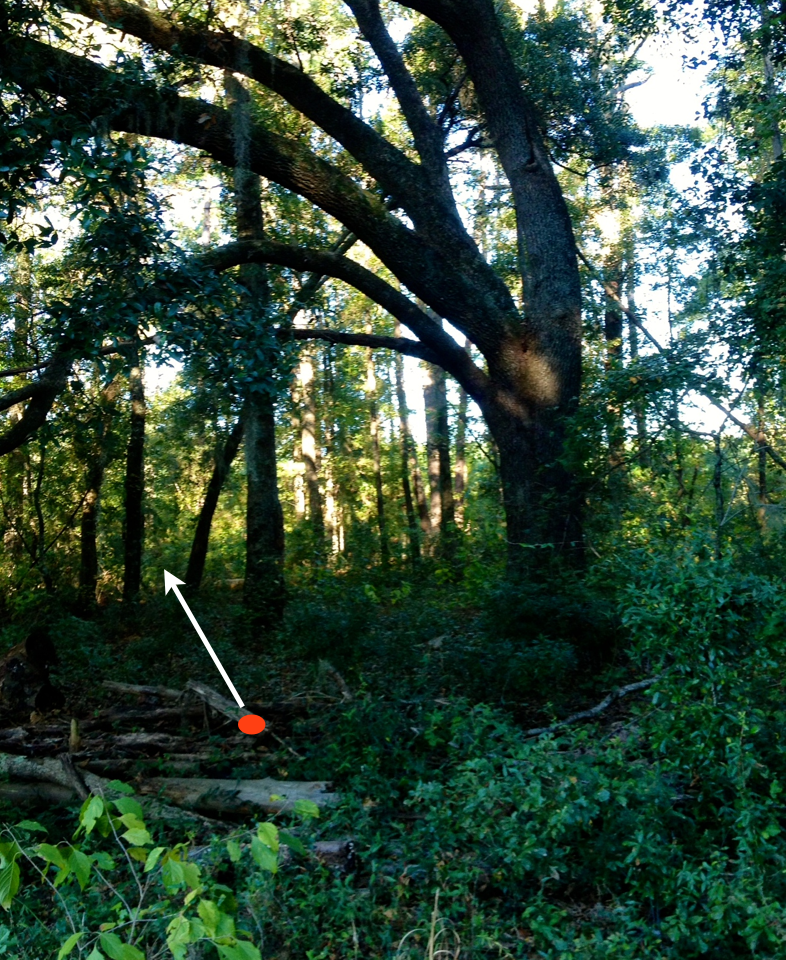
4. Go directly to the spot where you made your mark, and look for blood towards the direction the deer went. Stand there, in relatively one spot, until you find some.
5. Spotted! So you’ve found the tell-tale sign of a hit. Remember – I added surveyors tape to the list of essentials. This is where it comes in handy. Tie a little bit of the colored tape right beside the blood spot, and search outward from there. That way, if you get a little turned around or can’t find the next spot, you’ll know exactly where to return to start off in another direction. Think of it like your own brightly colored, biodegradable bread crumb trail… That won’t get eaten.
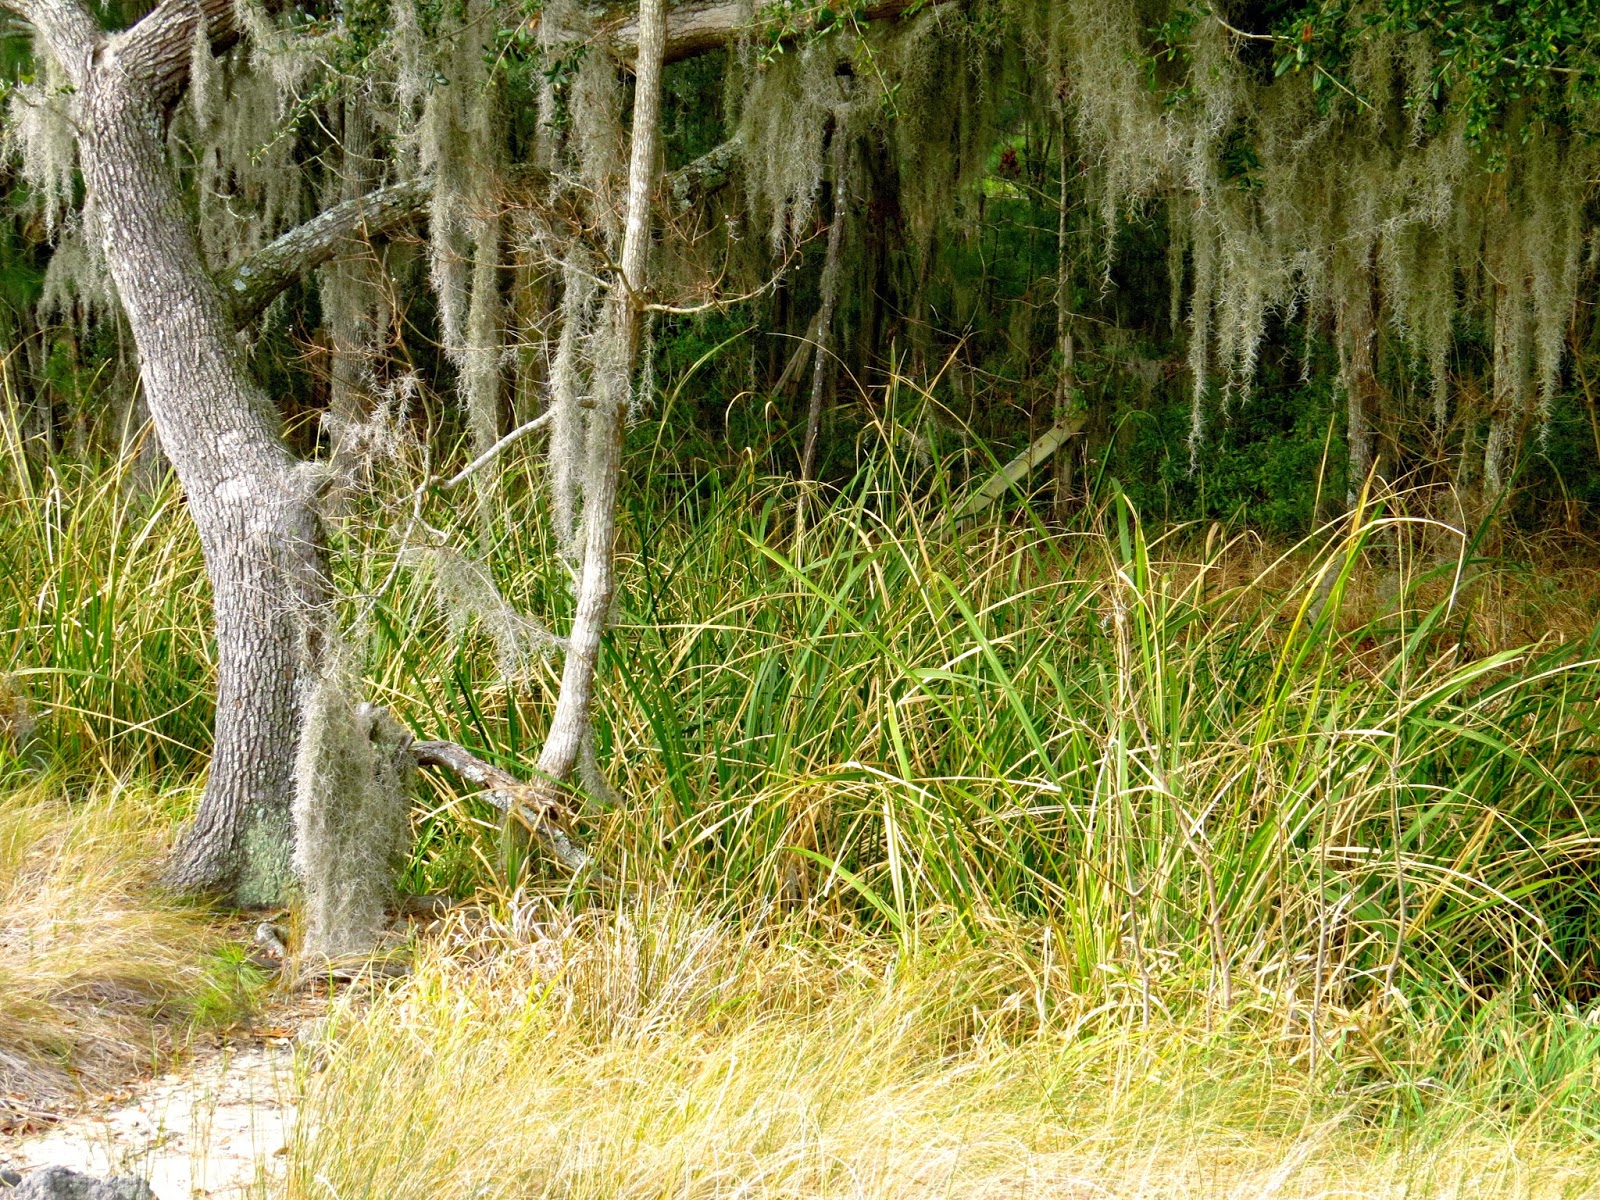
Move forward from there, following where you either saw the deer go, or what looks like the most logical path. If there is water nearby, a wounded animal will often run towards it. That happened to a doe of mine a few years ago, and I found it right at the edge of the water in the swamp. Also, listen/look for buzzards, ravens, and other predators. Remember the coyote morning? Sometimes it only takes a few minutes for them to find a downed animal.
6. But now… you’ve lost the trail. Go back to the last spot you found, and work your way outward in a tight circular or zigzag pattern, covering as much ground as you can.
If you’ve hunted in the morning, you have the advantage of a full day of light to search. Hunting at night, though? It can get really dark really quickly, and there are a handful of other tools that help with a night trail. A flashlight with regular white illumination as well as colored lights can be very helpful, light this one or this one. For marking the spots? Surveyors tape comes in a bunch of bright colors, but you could get fancy with it and use illumitacks.
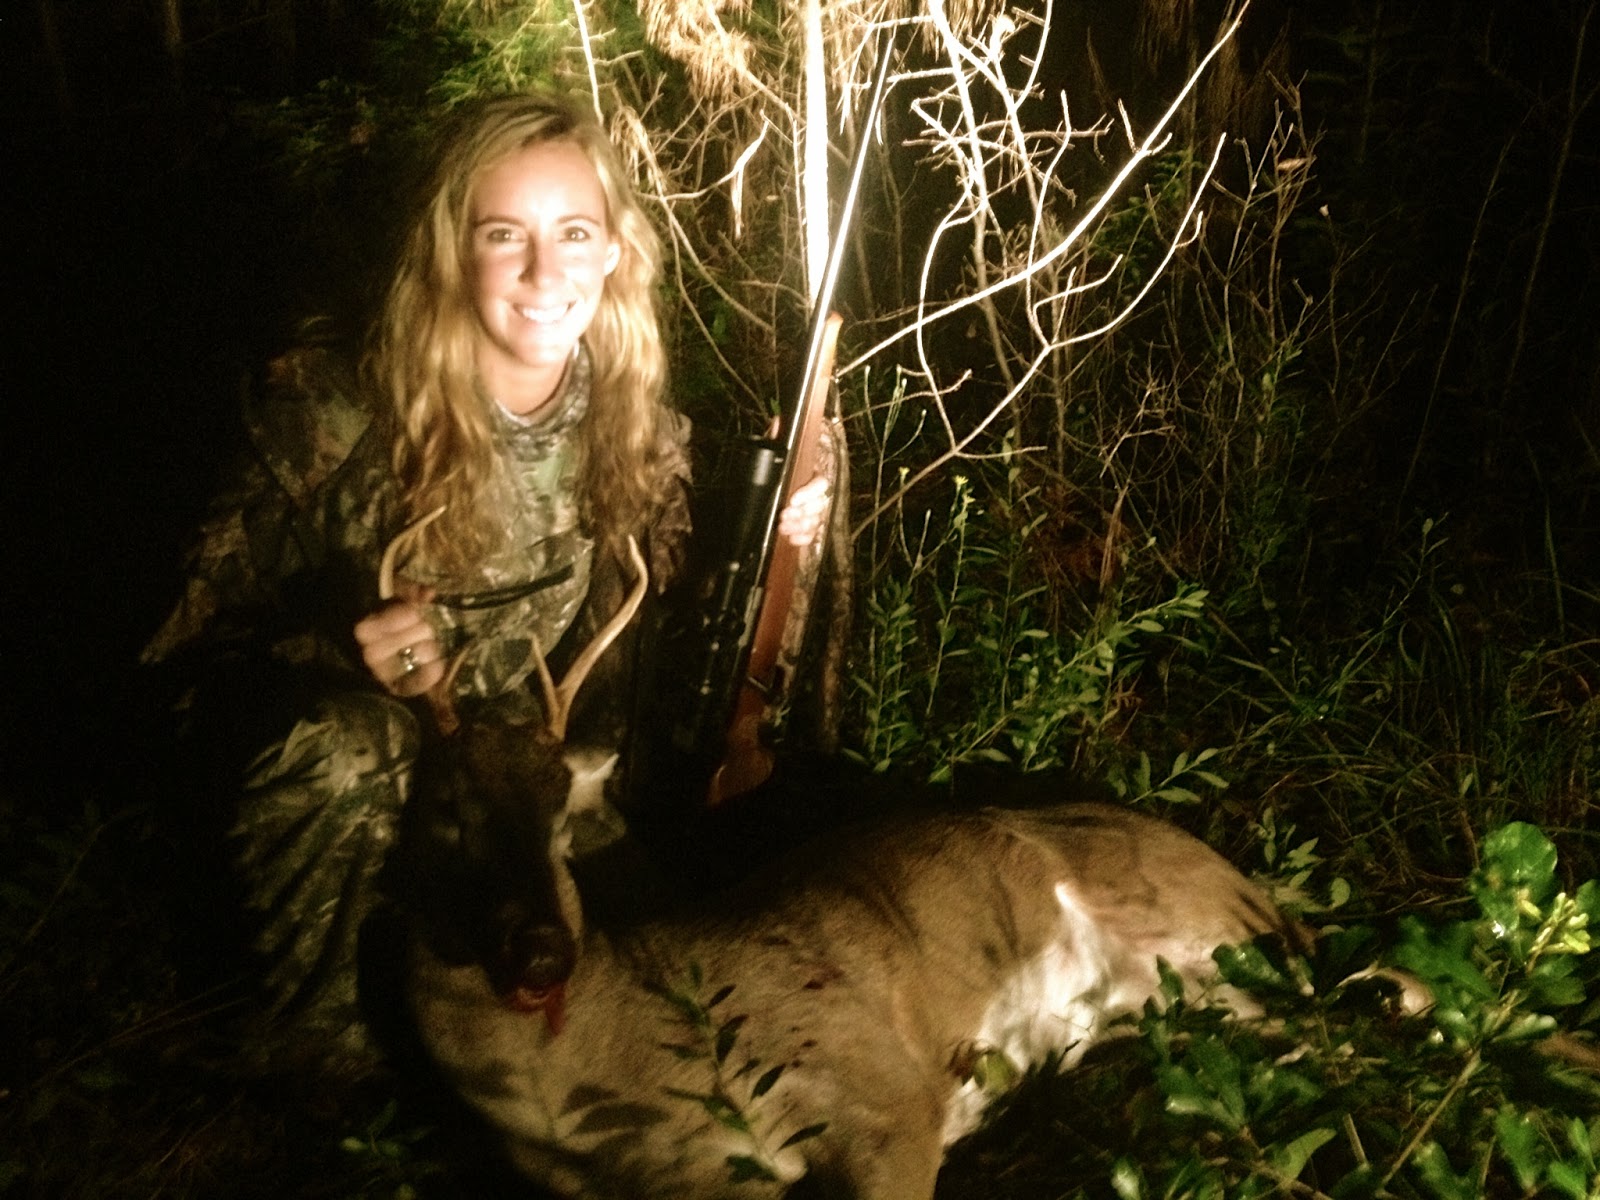
Following these tips – Success! Hopefully, you’ll do the same!
Here is a pretty in-depth list of tips that I found that gets into the nitty gritty of trailing, even describing the type of blood found and how it looks to determine what kind of shot you made. It’s a little Dexter sounding, but the tips certainly don’t hurt!