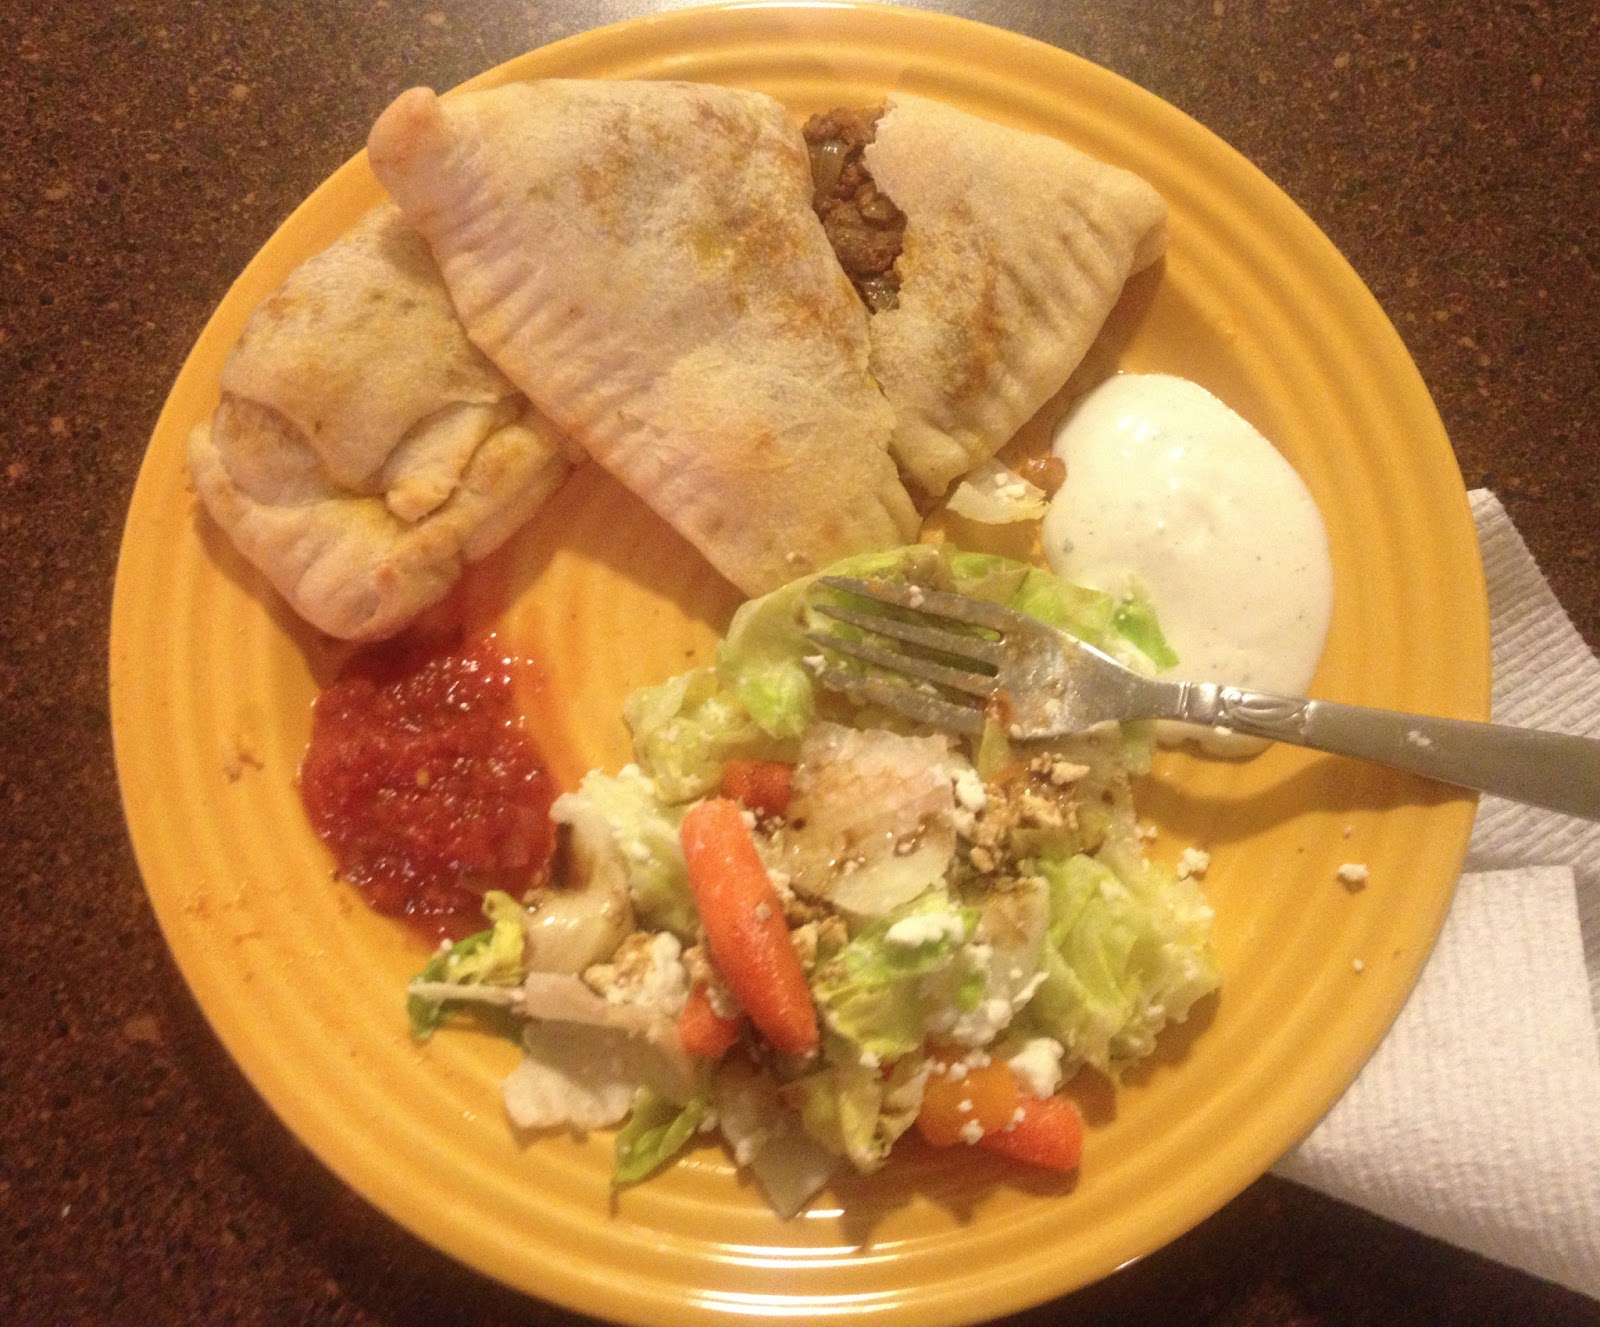
So I know that is a mouthful to say, but these yummies are a mouthful of deliciousness to eat. They’re my take on traditional empanadas, and boy were they a hit. During the spring and summer I find myself anticipating a bountiful fall and winter when it comes to game, so I start to go through my freezer pretty quickly. With ample amounts of ground venison stored, this is an excellent way to use some in a non-traditional way, and to keep your palate guessing. And no, I did not fry them. But oh man would have have been fantastic, too. The boys were satisfied with full bellies, and we even have a few leftovers for the next day or so. Also- I am not a food photographer, or, apparently, a pastry chef. Just throwing that out there…
INGREDIENTS
1/2 lb ground venison
1 medium/large yellow onion
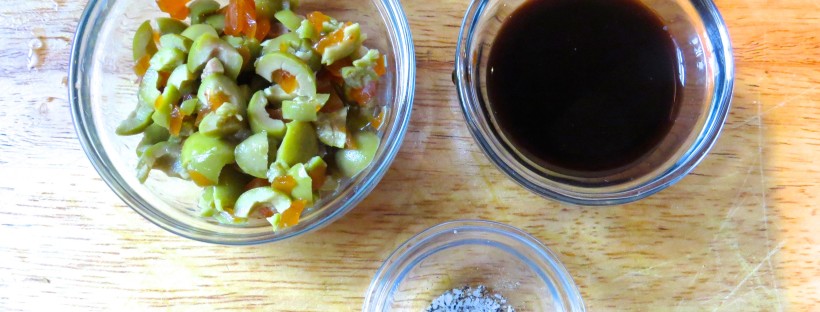
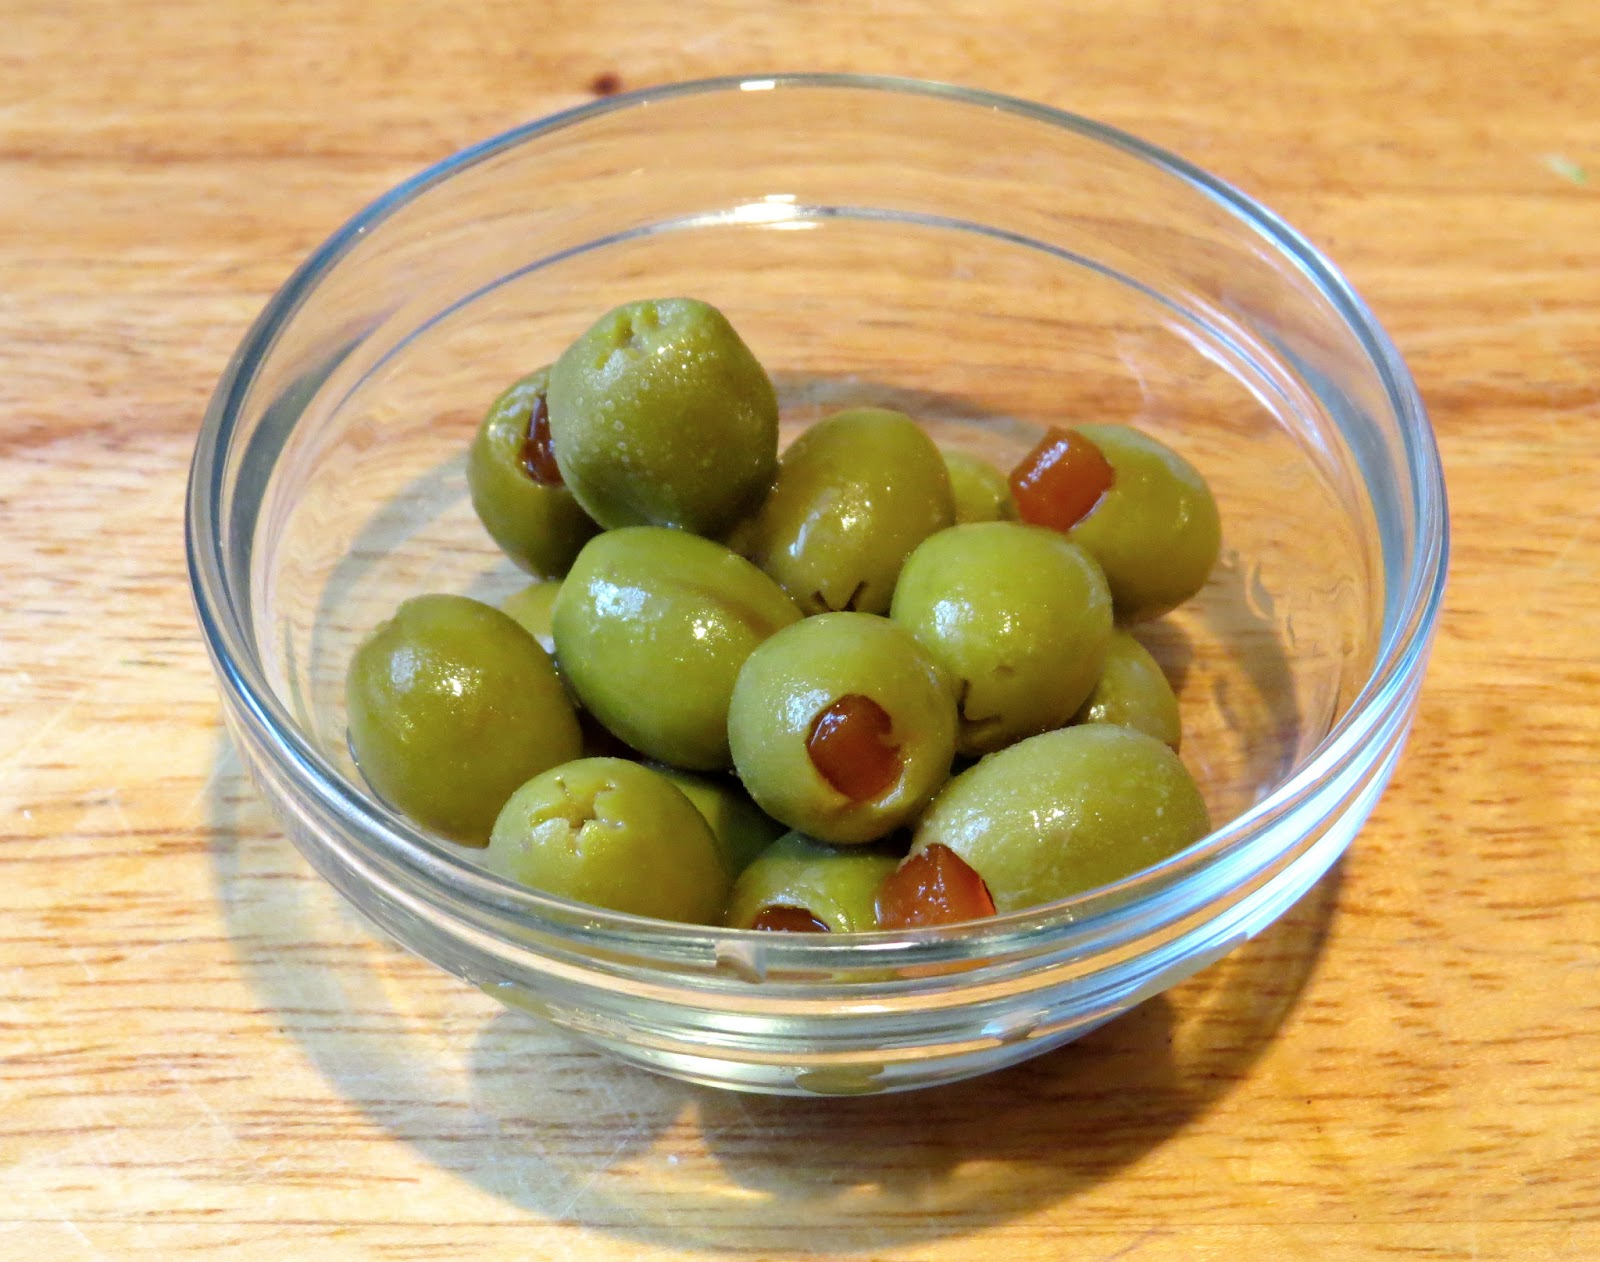
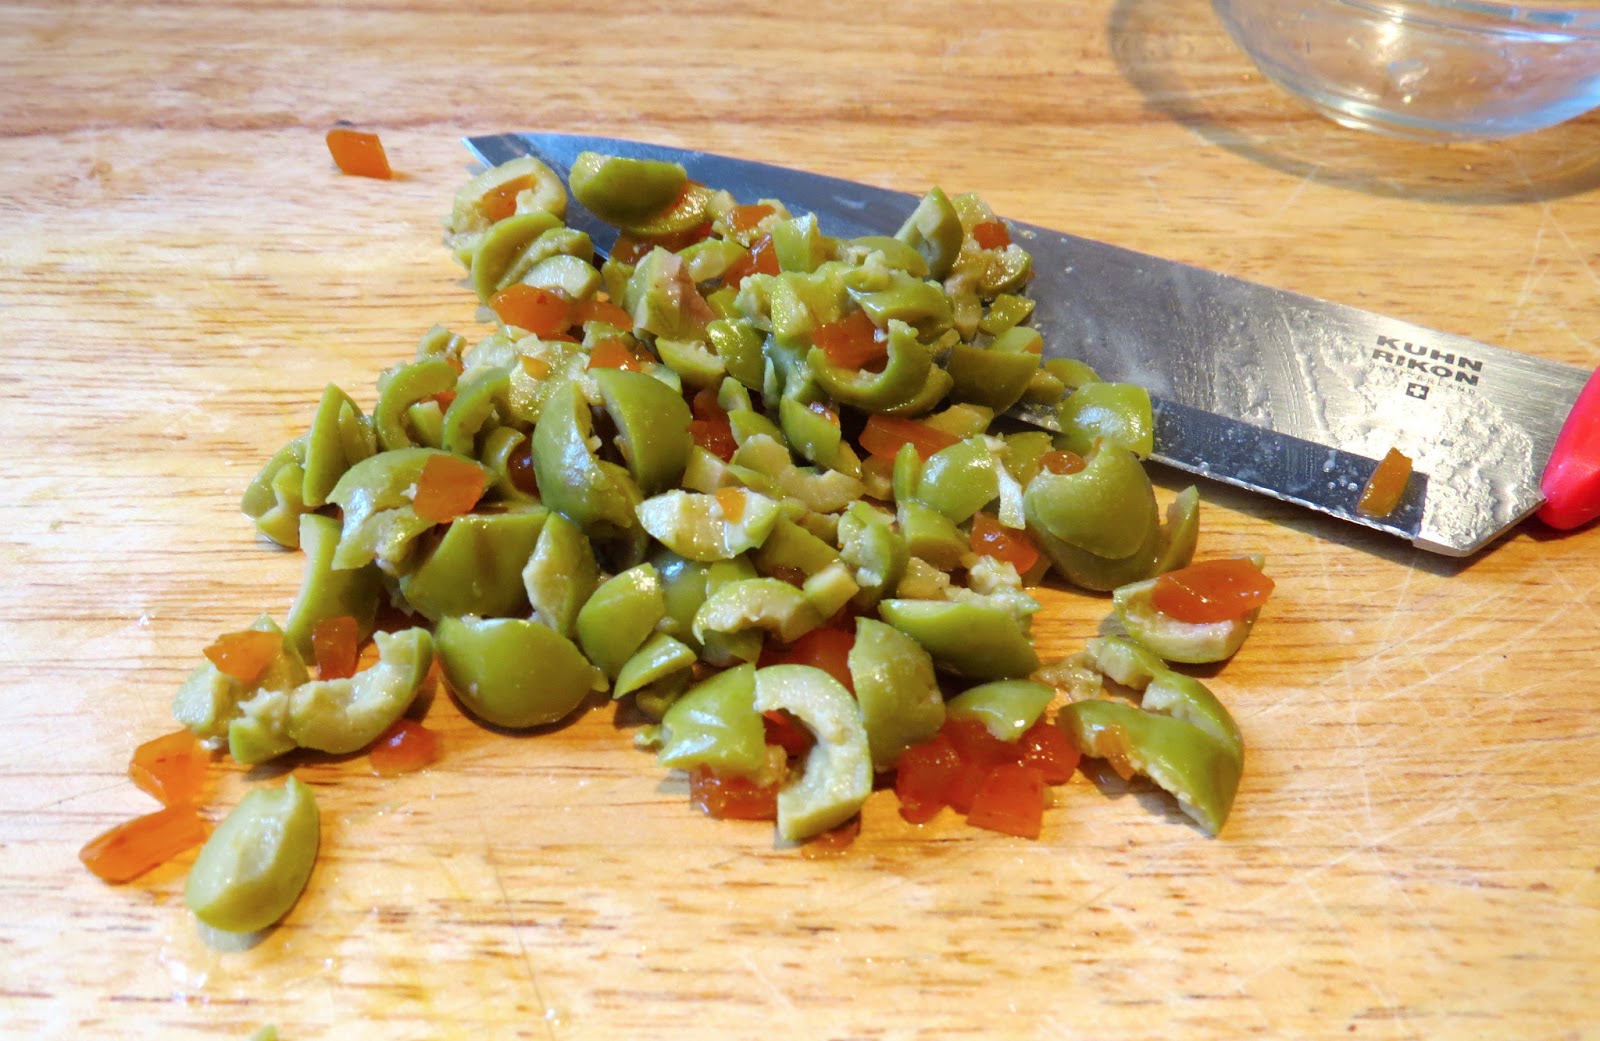
1/4 cup Spanish olives, chopped
1 1/2 tbsp Worcestershire sauce
1 1/2 tbsp balsamic vinegar
4-6 oz tomato sauce
1 tbsp butter
1 tbsp olive oil
1 package of 5″ pastry discs (found in the frozen section)
[side note: My grocery store did not have the pastry circles, so I opted for pizza dough, and simply rolled it thin and cut the empanada shape by hand. My pastry chef comment from earlier will soon make more sense…]
STEPS
Balsamic Caramelized Onion
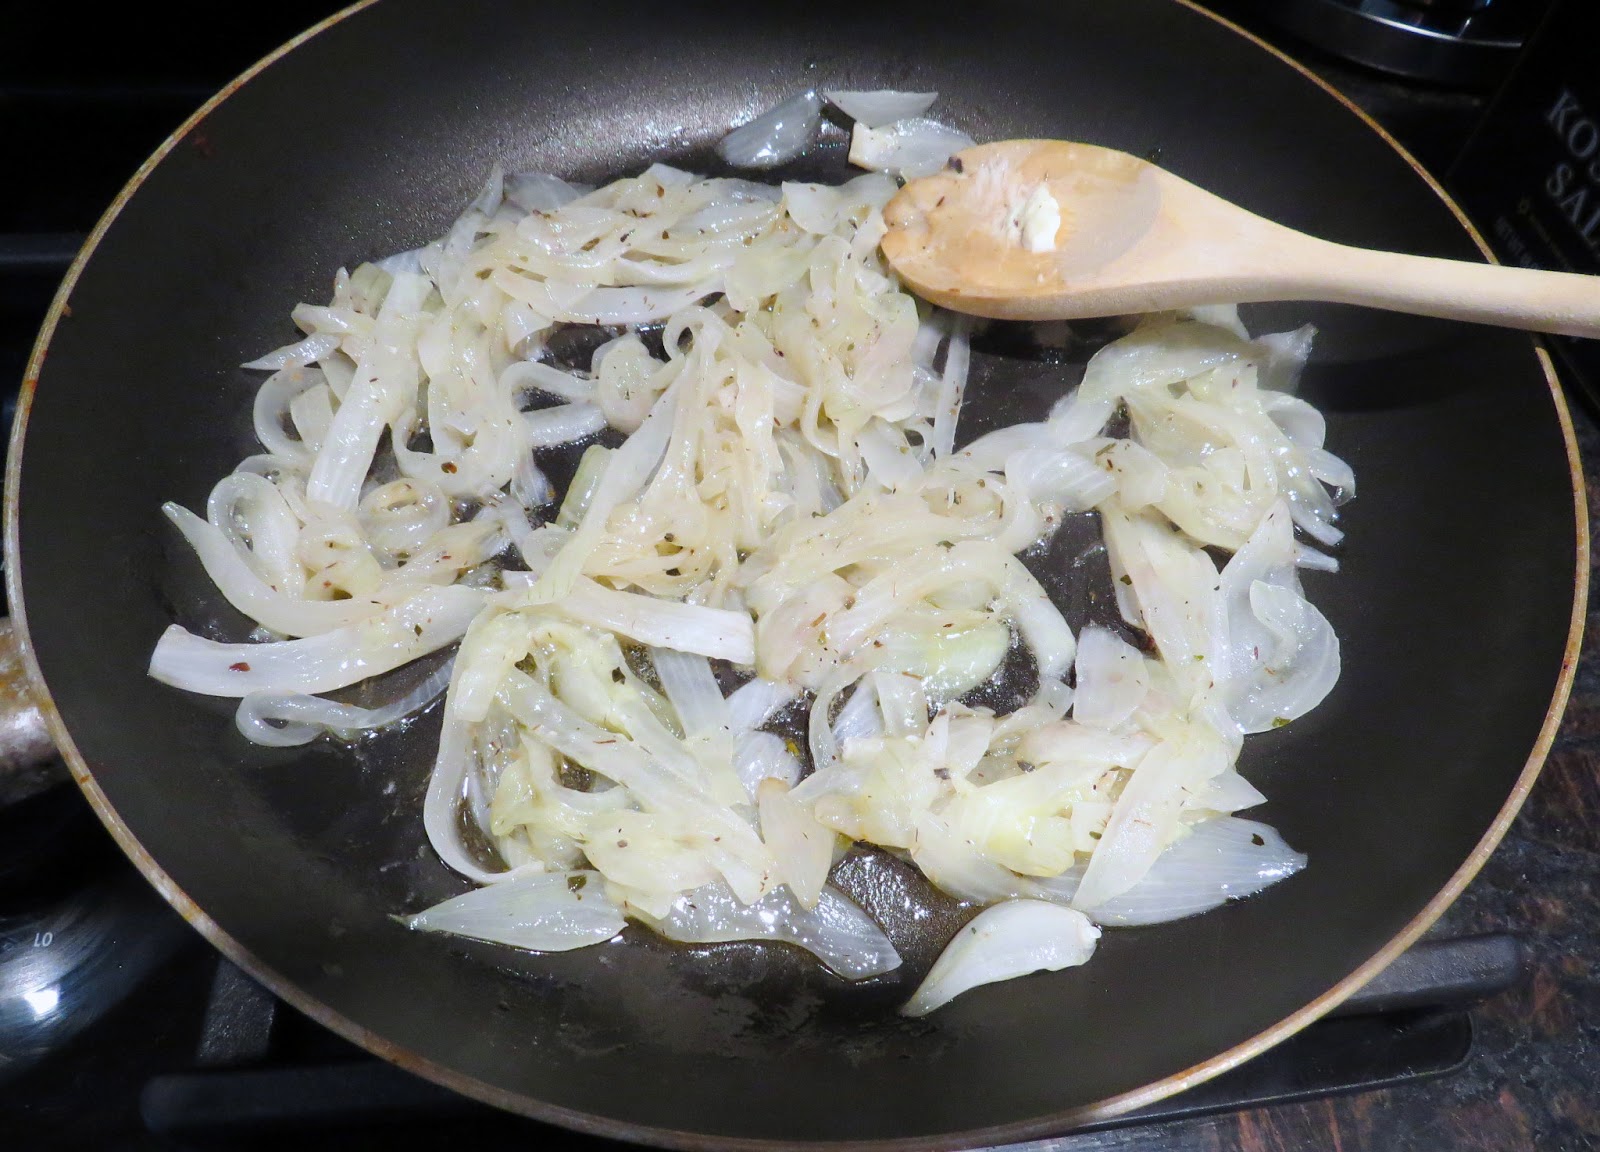
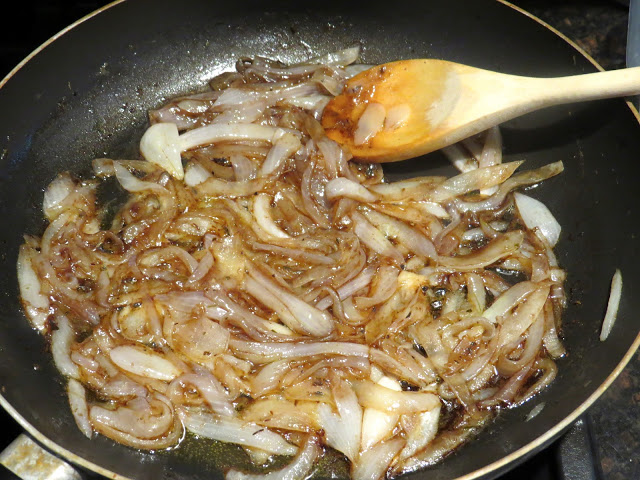
In a large pre-heated skillet, add the butter and olive oil, then the thinly sliced onion. Let the onion cook on low for around 30 minutes, until it has softened and browned. Add the Worcestershire and balsamic vinegar, and cook for another 5 minutes or so. The onions will be soft and slightly sweet. And delicious. Remove from the skillet and set aside.
Empanadas
1. In the same skillet that you cooked the onions, brown the ground venison until it has cooked through, and drain any excess liquid if necessary. Then add the onions back in, along with the tomato sauce. Try not to eat this plain, straight from the skillet, because it is tempting. It will look similar to a really thick pasta sauce. Hmm…
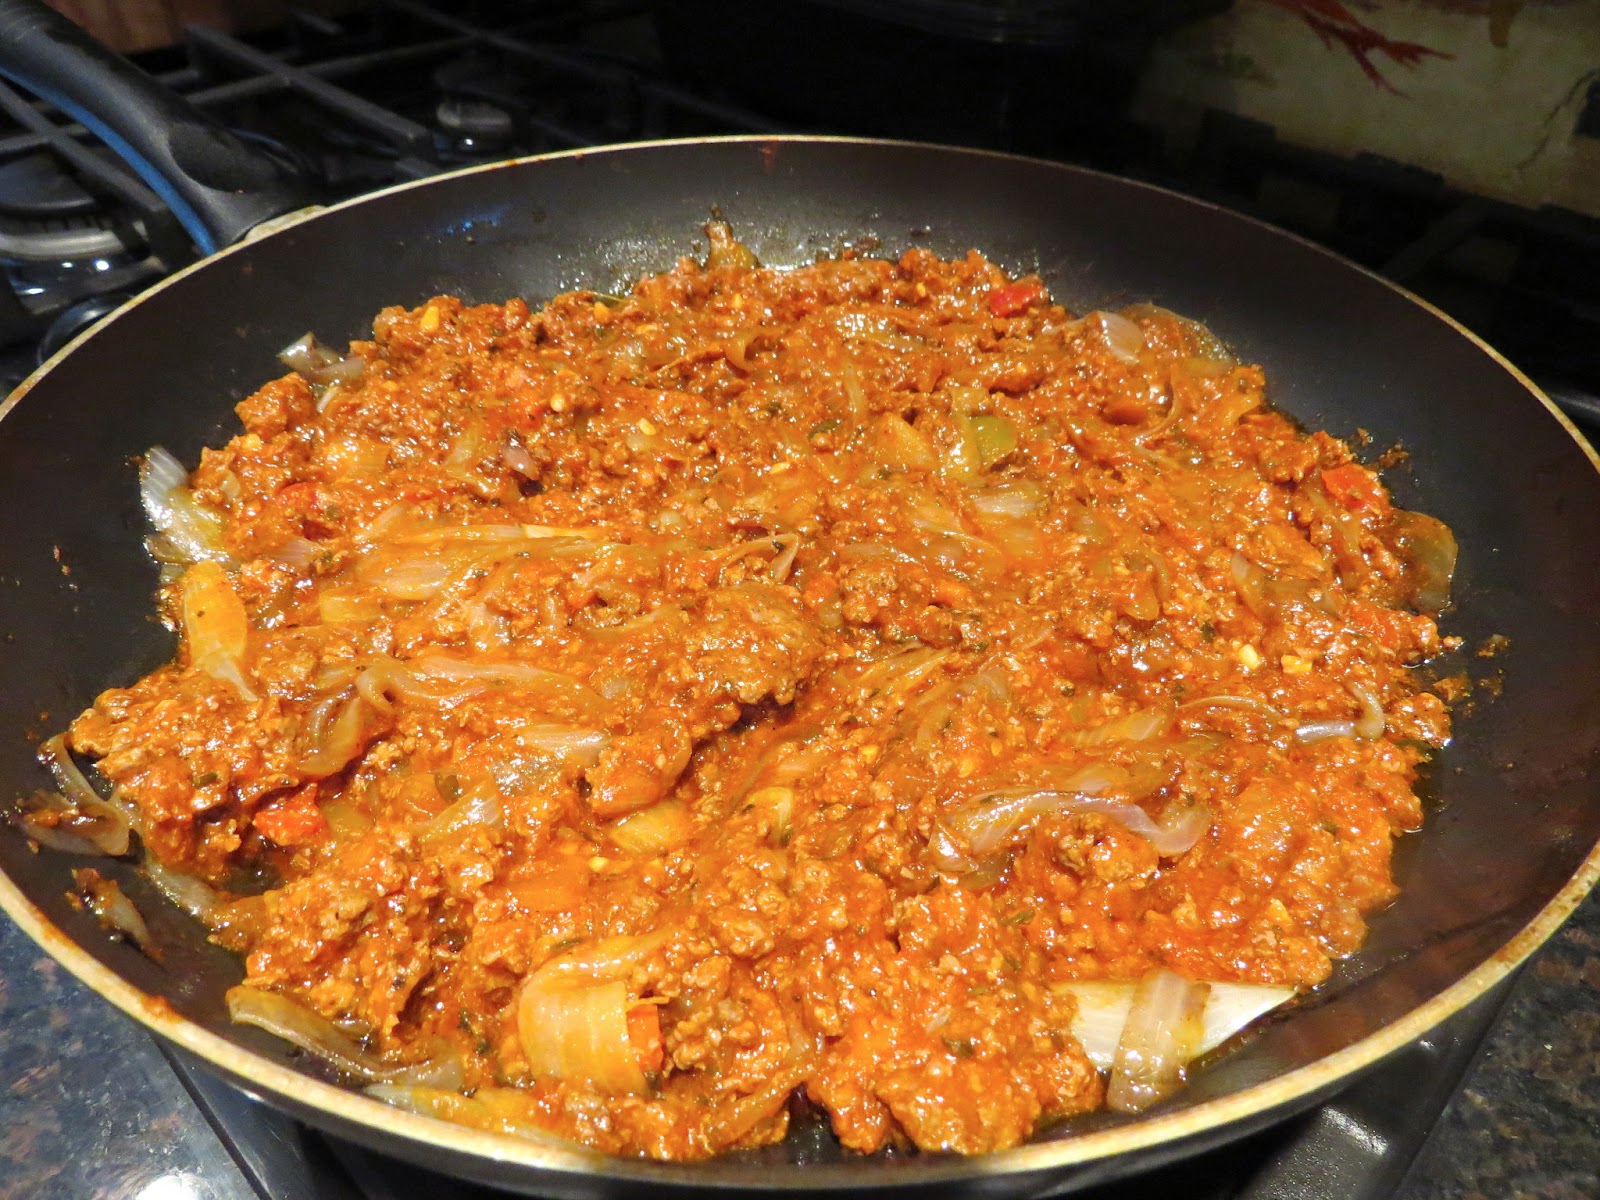
2. While all of that is simmering, chop the olives, then add them to the pool. Oh. And preheat your oven to 375*.
3. Take the skillet off the heat and let the mixture cool slightly, to the point where it won’t burn your fingers when you fill the dough. Or when you taste it. But that’s neither here nor there. With the dough rolled out to desired thickness (or, if you found the correct pastry discs, just lay them on the counter ready to fill), add about 2 tablespoons of the mixture to the center of the dough “circle.” Ok, let’s be honest. Add a little more than 2. More like 3.
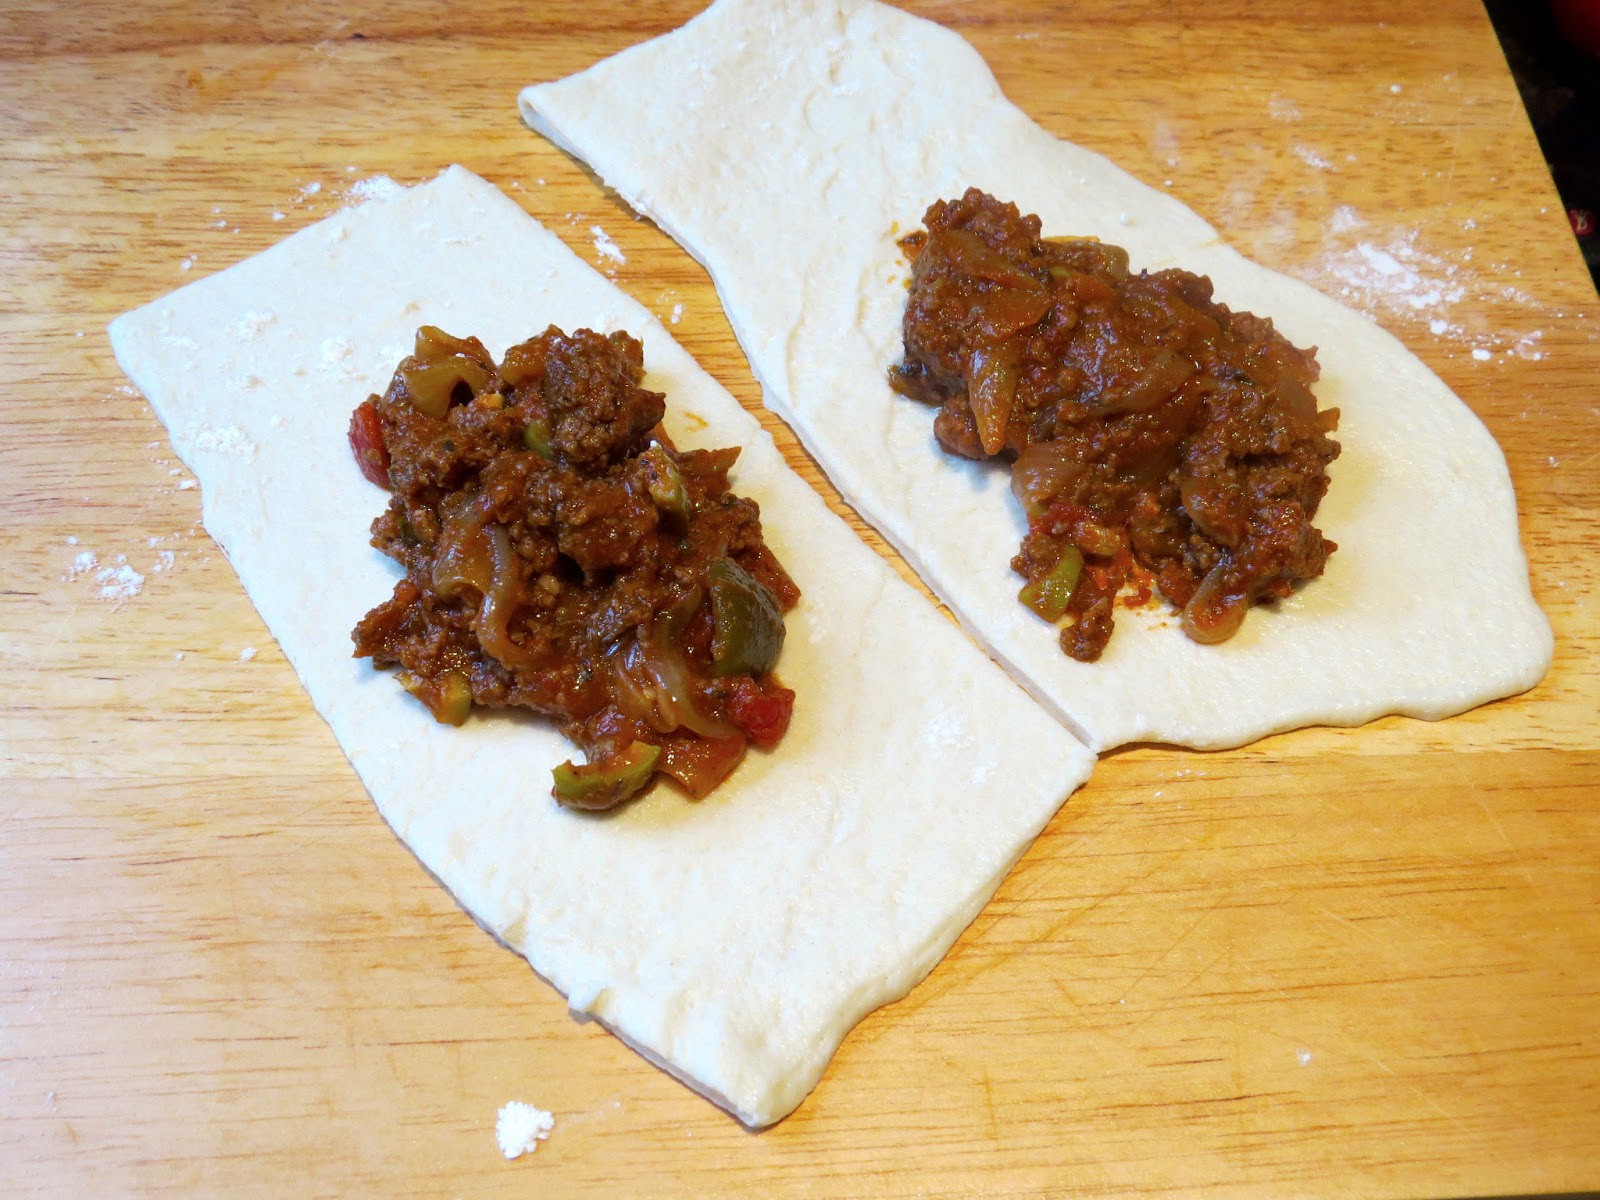
4. Fold the dough over the filling, and press down around the seams using a fork, crimping the pockets shut. Brush the tops with a little bit of melted butter or olive oil to help them get nice and brown. Then poke a few holes in the top to allow the extra air to escape during the baking process. They should look like delicious little semi-circles. In my case… similar to… triangles?
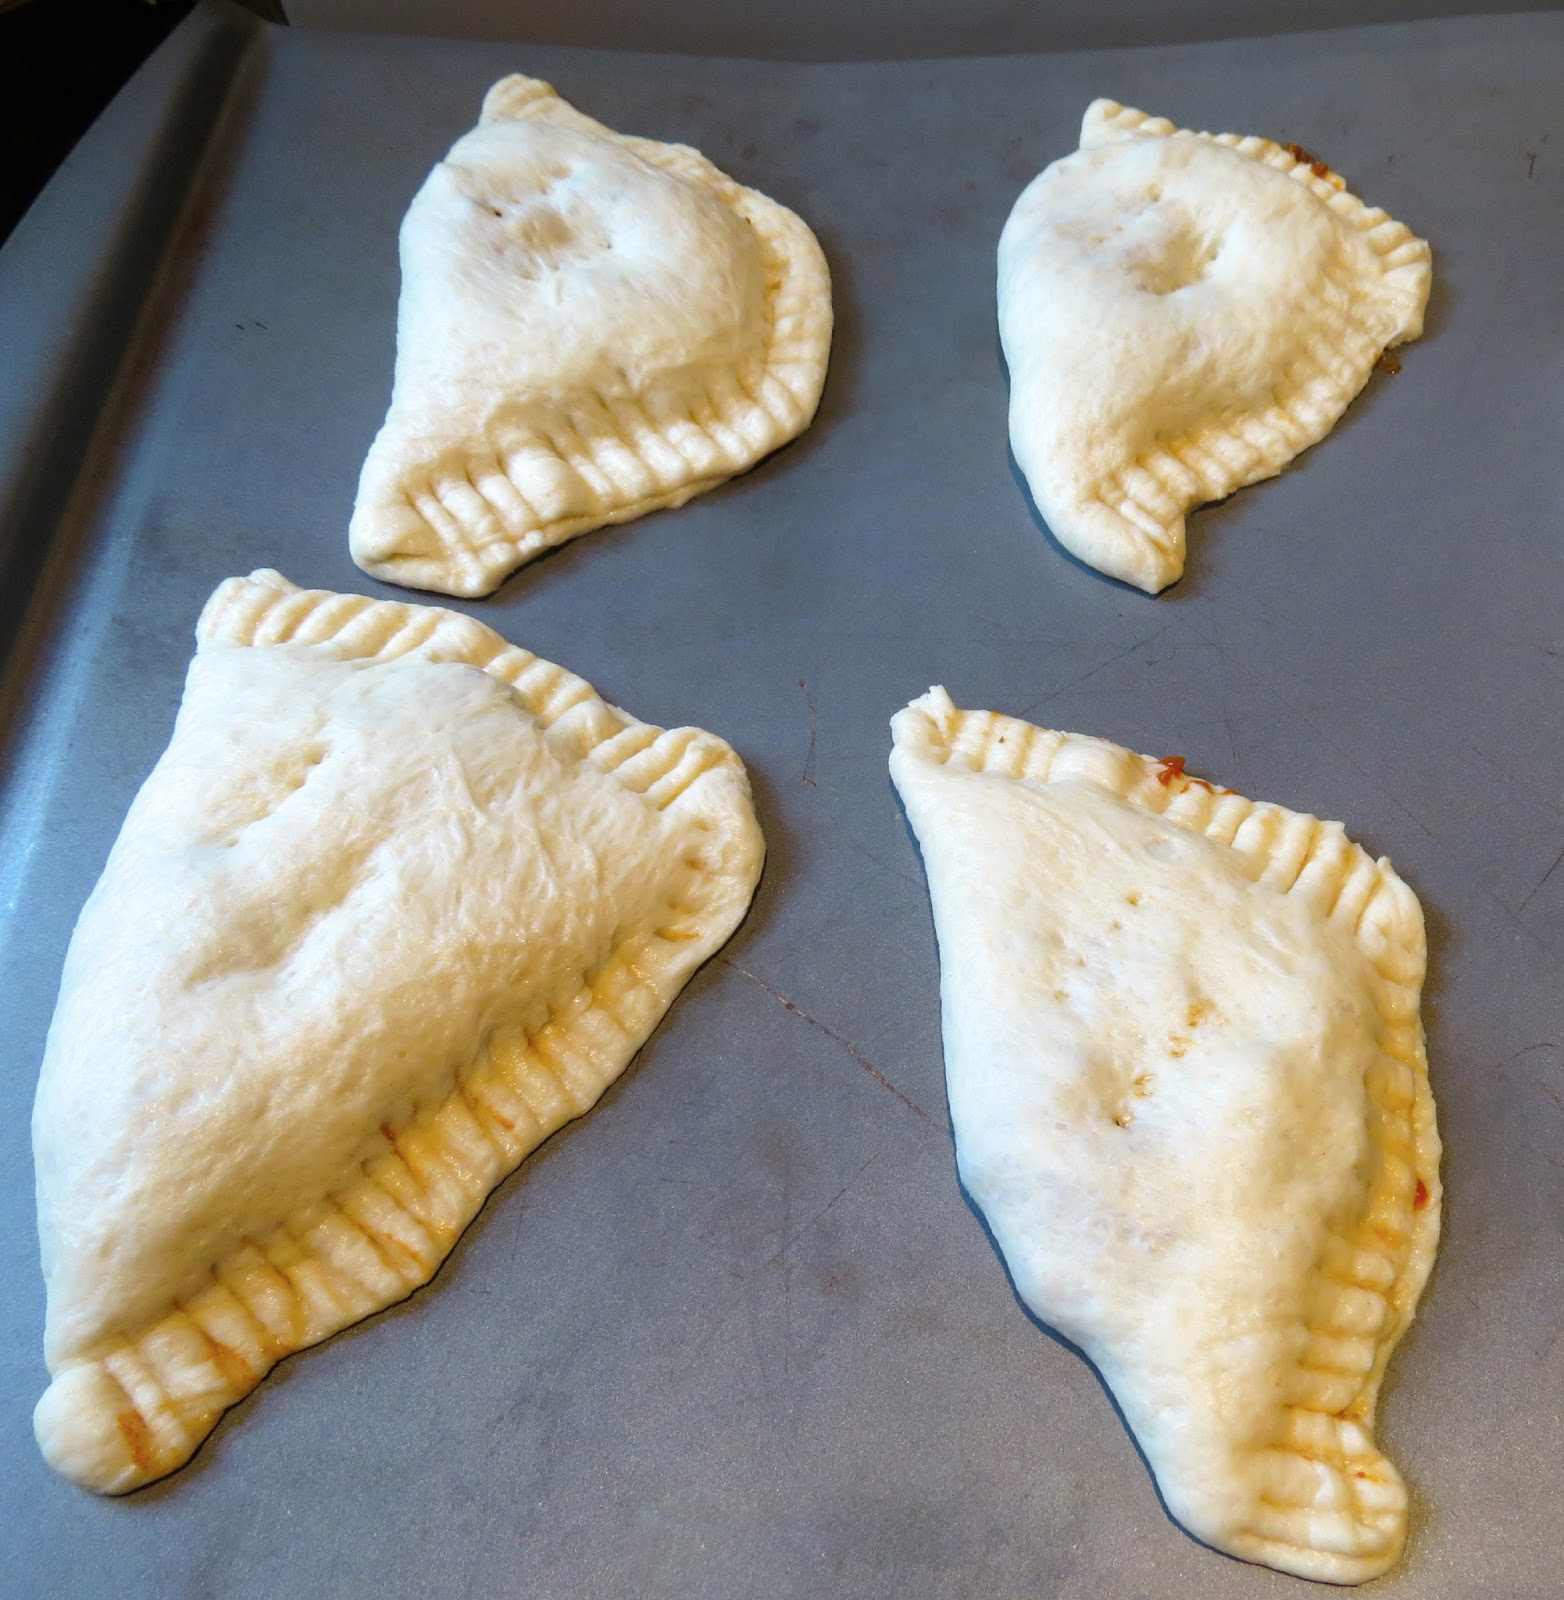
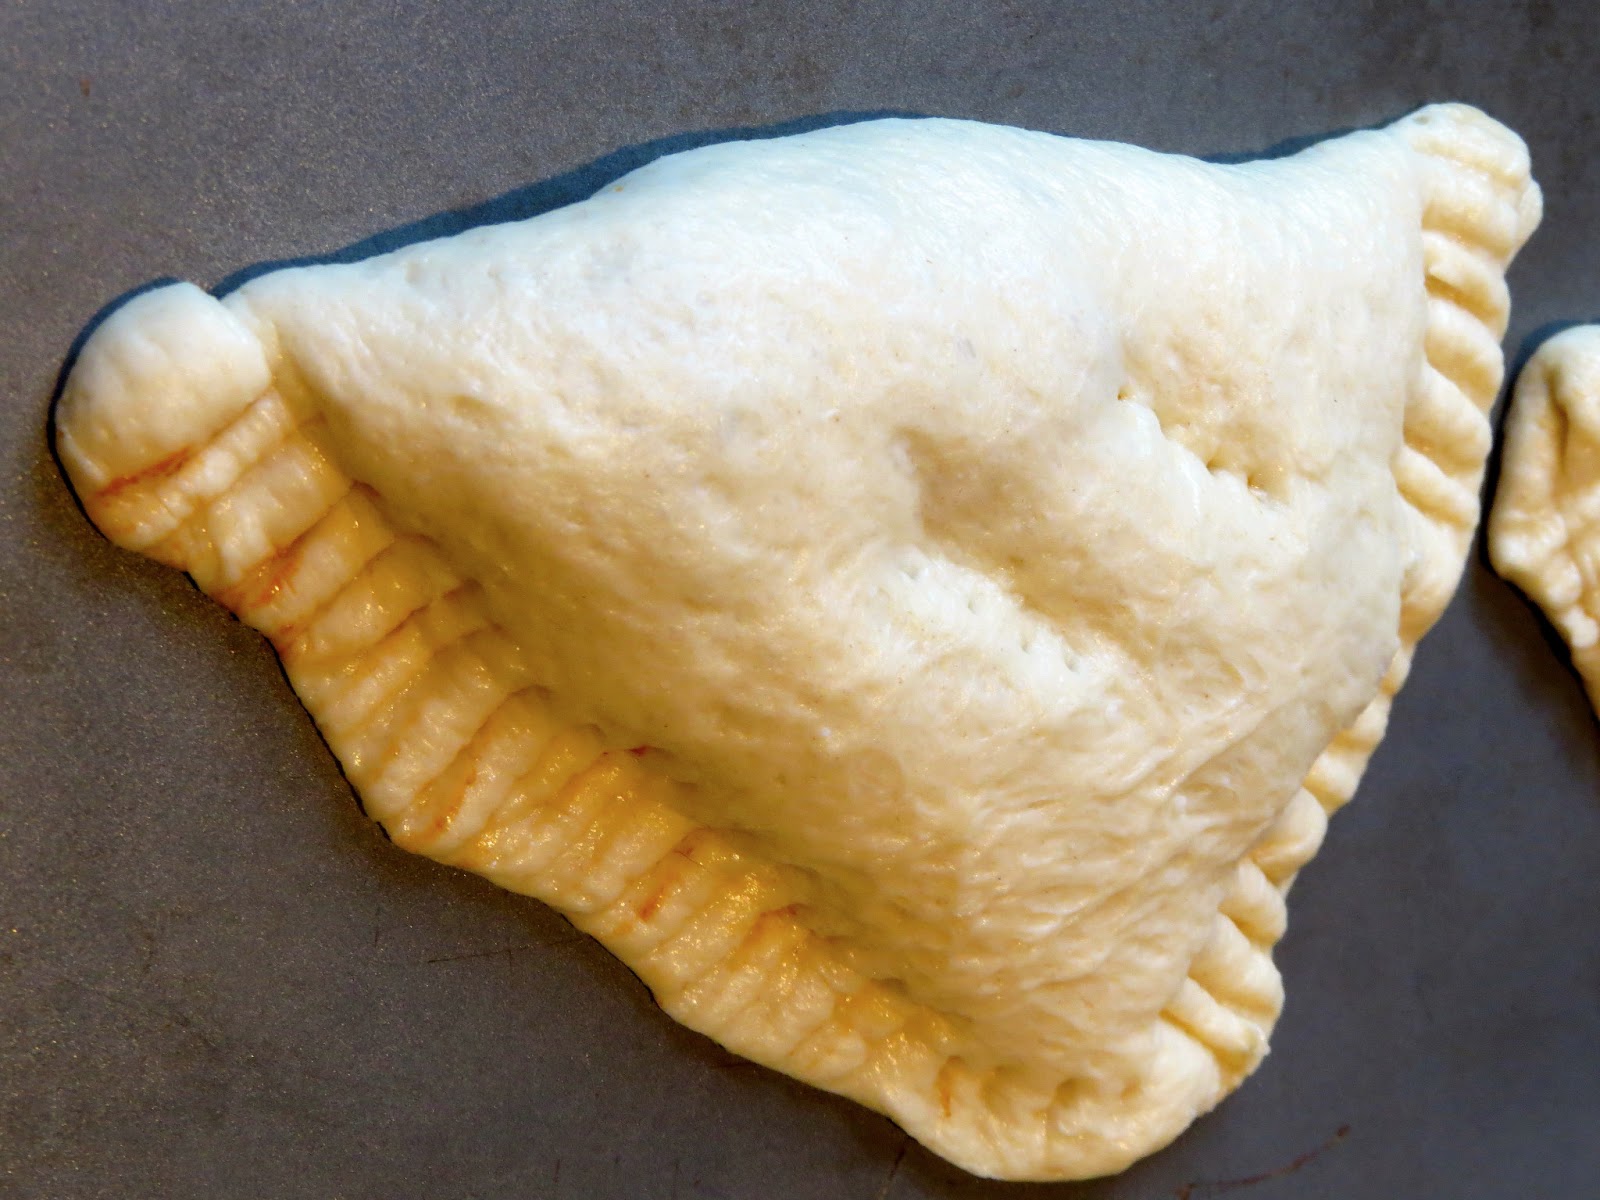
See what I mean? Not exactly a pastry chef. Or food photographer.
5. On a baking sheet sprayed with non-stick cooking spray, toss them in the oven and bake for 18-20 minutes, or until the dough has cooked completely and the tops are golden brown. If you used pizza dough like I did, they will need to cook longer, around 25 minutes. Just keep an eye on them. You’ll know. Or your stomach will be growling so much, you just take them out of the oven anyway.
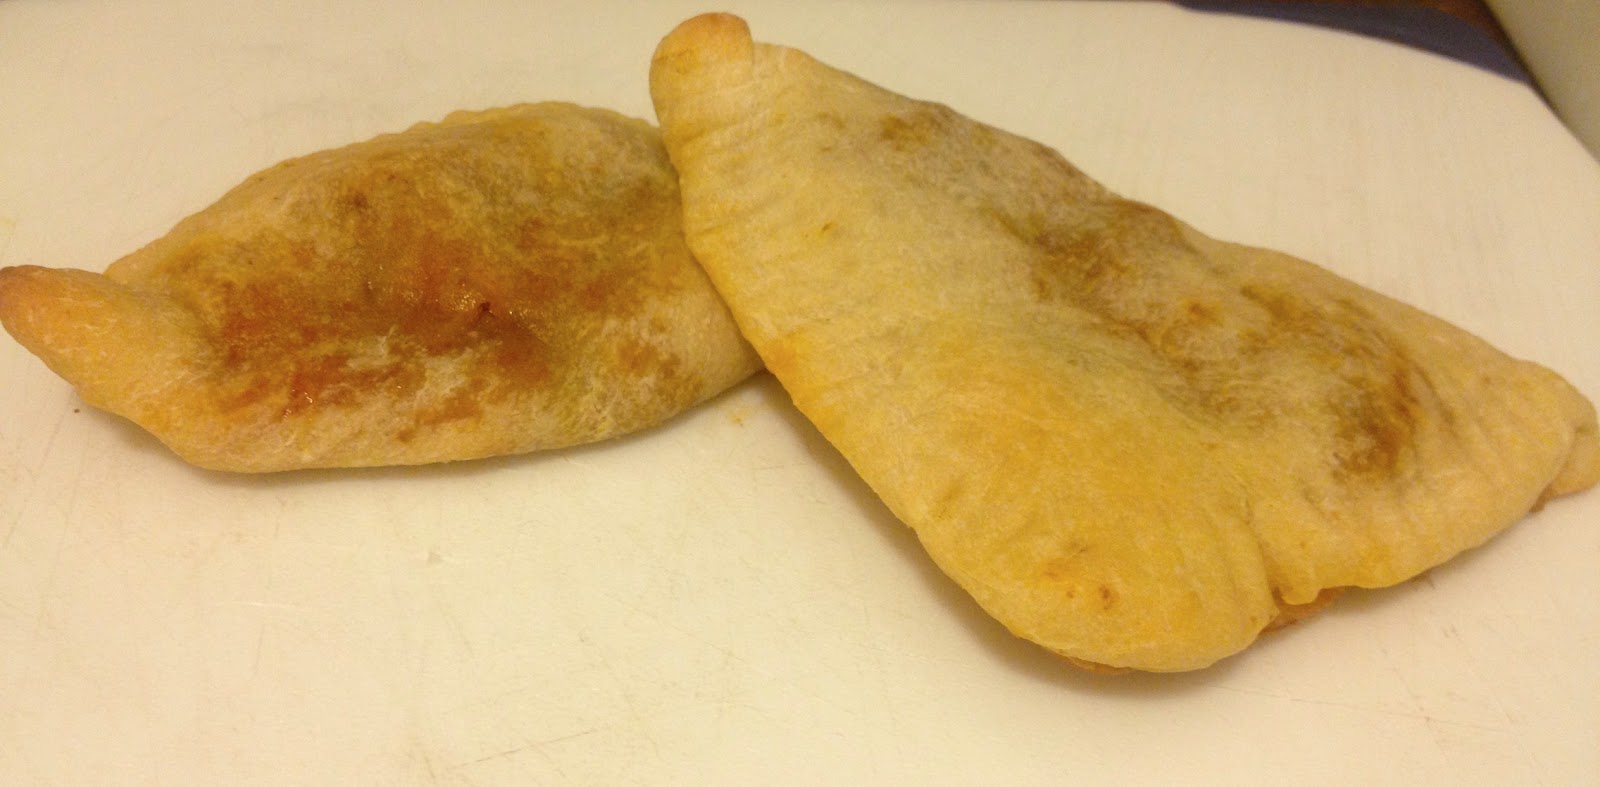
Let them cool for a bit before diving in. The filling will be rrrreeeal hot. Trust me. But who are we kidding? We put some salsa and sour cream on the side, just for some extra flavor. Dive in and enjoy!